Should you resize an image before compressing it?
Resizing and compression solve different problems. A measured comparison shows which step reduces an oversized image most, and when quality settings start to matter.
Ama Mundum LLC Team5 min read
Yes, most of the time. Resizing and compressing are not two names for the same operation.
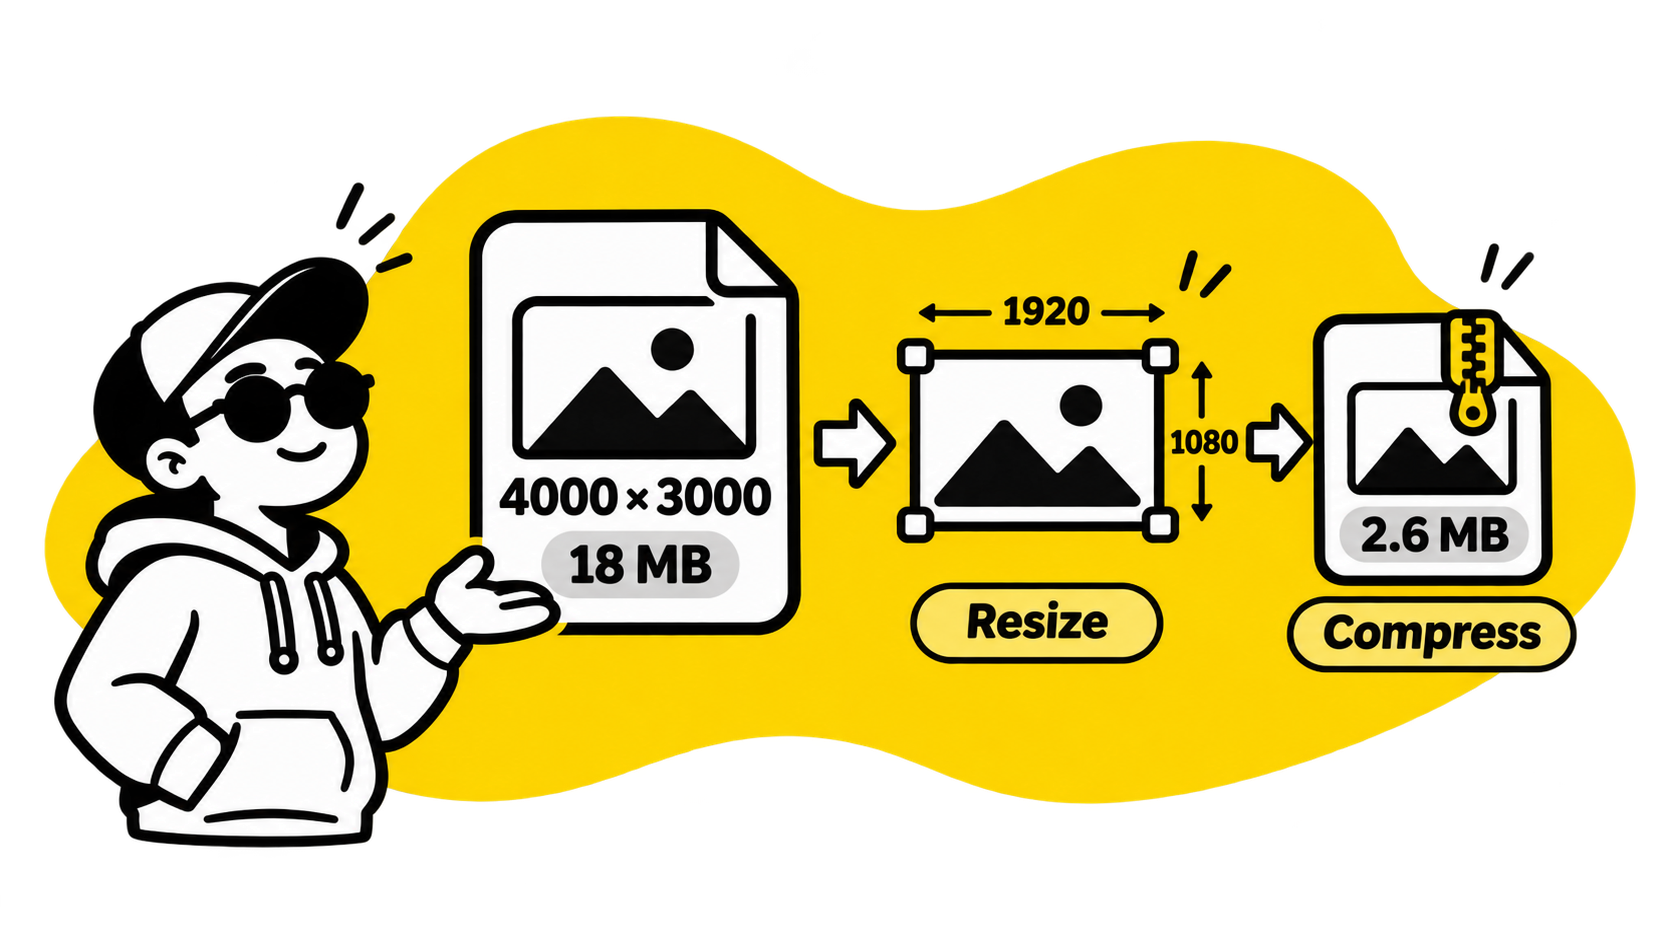
Resizing changes how many pixels the image contains. Compression changes how efficiently those pixels are stored. If a photo is four times wider than the space where it will appear, removing unnecessary pixels usually does more than moving a quality slider from 80 to 70.
A simple test
Take a 4,000 × 3,000 photograph and prepare it for a 1,000-pixel-wide card. Keep the format the same and compare three files:
| Version | Dimensions | What changed |
|---|---|---|
| Original | 4,000 × 3,000 | Nothing |
| Resized | 1,000 × 750 | Three quarters of the pixels in each direction removed |
| Compressed | 4,000 × 3,000 | Encoding made more compact |
The resized image has one sixteenth as many pixels as the original. Compression can make the original smaller, but it cannot change the fact that the browser still has to decode all those pixels.
That affects both file size and the work required to display the image.
Resize for the space, not for the camera
Start with the largest size the image actually needs. A small blog card does not benefit from a camera-sized file. A full-width article image may need more pixels, but it still rarely needs the original dimensions from a modern phone or camera.
Do not make the image smaller than its displayed size just to chase a number. Enlarging it later cannot recreate details that were removed. The useful question is: what is the largest version a visitor will actually see?

Locking the aspect ratio is usually the safe choice. A free-form resize can turn a circle into an oval or make people look wider than they are. Change the dimensions independently only when the destination has a deliberate crop or stretch.
Compress after the dimensions are right
Once the image is the right size, compression decides how much detail to preserve. This is where format matters:
- JPG is usually a good fit for photographs.
- PNG is useful when transparency or sharp, flat edges matter.
- WebP often gives a smaller file for photographs and graphics.
Compression is a trade. A lower file size is not automatically a better result if text becomes fuzzy, edges acquire halos or a face develops blocky patches.

The practical method is to compare the downloaded file at the size people will see it. An image that looks damaged at 400% may look perfectly fine in a 300-pixel card. An image that looks fine in the editor may look soft once it is the hero image on a large screen.
Why compression cannot fix every oversized file
Suppose a photo contains six million pixels but is displayed at 800 pixels wide. Compression can reduce the bytes used to store those six million pixels. It cannot remove the decoding and transfer cost of all six million unless you resize it.
That is why “maximum quality” is not a useful target by itself. The right target is the smallest file that still looks right at its actual display size.
A workflow that holds up
- Crop out anything that will never be shown.
- Resize to the largest required display dimensions.
- Choose a format that fits the image.
- Compress and compare at the real display size.
- Check the result on a phone as well as a large screen.
If the resized output is a PNG photograph and it is still much larger than expected, try PNG to JPGOpen tool or PNG to WebPOpen tool before compressing again.
The order is simple because the operations solve different problems: dimensions control how much image exists, while compression controls how economically that image is stored.